
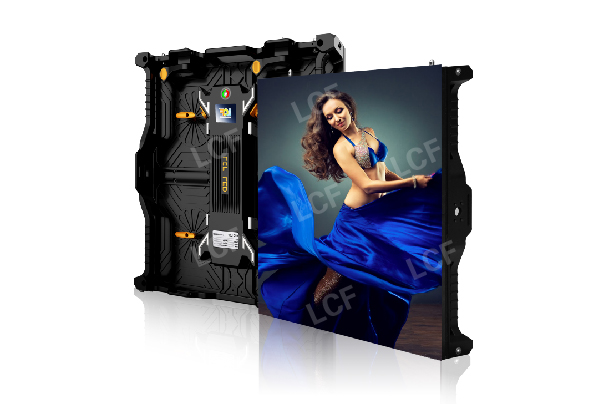
Publisher: Supplier of LED Display Time: 2018-03-06 Views: 4591
2. Turn off the power first: connect V+ to the red wire, V- to the black wire, respectively, to the control card and the LED unit board, and the black wire to the GND of the control card and the power supply. The red wire connects the +5V of the control card and the VCC of the unit board. 1 power cord per cell board. When done, please check that the connection is correct.
3. Connect the control and unit boards: Use the prepared cables to connect. Pay attention to the direction, can not be reversed. Please note that there are 2 16PIN interfaces on the unit board, 1 is input, 1 is output, and the one near the 74HC245/244 is the input, connect the control card to the input. The output is connected to the input of the next cell board.
4. Connect the RS232 data cable: Connect one end of the prepared data cable to the DB9 serial port of the computer, and the other end to the control card, connect the 5-pin (brown) of DB9 to the GND of the control card, and the 3-pin (brown and white) of DB9 Connect to the RS232-RX of the control card. If your PC does not have a serial port, you can go to the computer city to buy a USB to RS232 serial port conversion cable.
5. Check the connection again: check whether the connection is correct, the black wire is connected to -V and GND. The red wire connects +V and VCC +5V.
6. Turn on 220V and open the downloaded software: under normal circumstances, the power light is on, the control card is on, and the screen is displayed. If not, please check the connection. Or check out Error Troubleshooting. Set screen parameters and send subtitles. Refer to the software instruction manual for details.
Master the above six LED display wiring methods and steps, nip the fault in the bud, and make the LED display run more safely and reliably!


Shenzhen LCF Technology Co., Ltd.
Support Hotline
400-618-8884 / 0755-66833488(+86)187-0755-0669
Email:
shuaishuai1@lcf.technology
Company Address
LCF Sound & Optoelectronics Industry Park, Gushu, Bao'an District, Shenzhen.
Copyright © 2004-2026 LCF LED Display Screen All rights reserved. Guangdong ICP 15089785-3 Subsidiaries: Dongguan Tongdachuang Industrial Co., Ltd., Anshun Lianshunda Technology Co., Ltd. (holdings)