
Publisher: Supplier of LED Display Time: 2016-11-16 Views: 3862
1. Check the power supply voltage, find out the DC positive and negative connections to the switching power supply, and connect the 220V power cord to the switching power supply
2. Turn off the power first. Connect V+ to the red wire, V- to the black wire, respectively, to the control card and the LED unit board, and the black wire to the GND of the control card and power supply. The red wire connects the +5V of the control card and the VCC of the unit board
3. Connect the control and unit boards, and use the prepared cables to connect. Pay attention to the direction, do not reverse
4. Connect the RS232 data cable, connect one end of the prepared data cable to the DB9 serial port of the computer, and the other end to the control card, connect the 5-pin (brown) of DB9 to the GND of the control card, and the 3-pin (brown and white) of DB9 Connect to the RS232-RX of the control card. If your PC does not have a serial port, you can go to the computer city to buy a USB to RS232 serial port conversion cable.
5. Check the connection again to see if it is correct. The black wire is connected to -V and GND. The red wire connects +V and VCC +5V.
6. Turn on 220V, under normal circumstances, the power light is on, the control card is on, and the screen is displayed. If not, please check the connection. Or check out bugfix
7. Open the downloaded software, set screen parameters, and send subtitles.


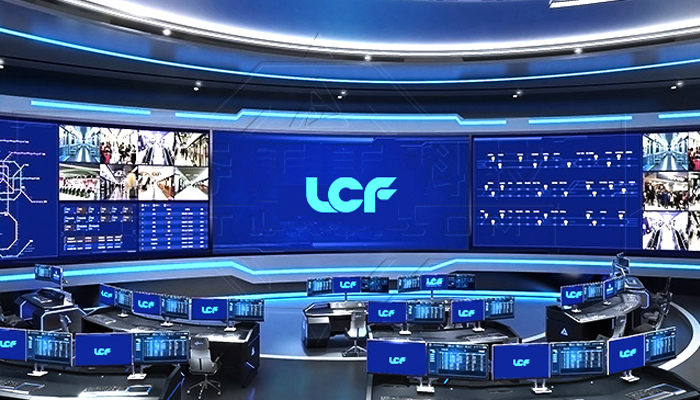
LCF LED Display Manufacturer
Support Hotline
400-618-8884 / (+86)187-0755-0636(+86)187-0755-0669
Email:
linhaile@skwhcm.cn
Company Address
LCF Sound & Optoelectronics Industry Park, Gushu, Bao'an District, Shenzhen.
Copyright © 2004-2026 LCF LED Display Screen All rights reserved. Guangdong ICP 15089785-3 Subsidiaries: Dongguan Tongdachuang Industrial Co., Ltd., Anshun Lianshunda Technology Co., Ltd. (holdings)