
Publisher: Supplier of LED Display Time: 2016-11-09 Views: 3939
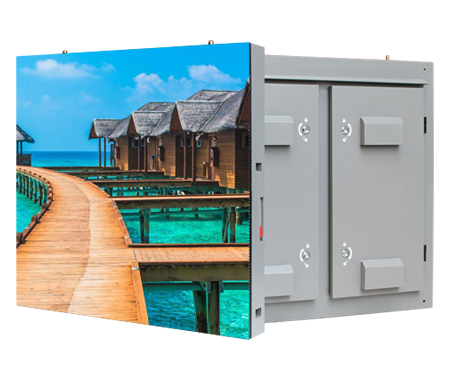
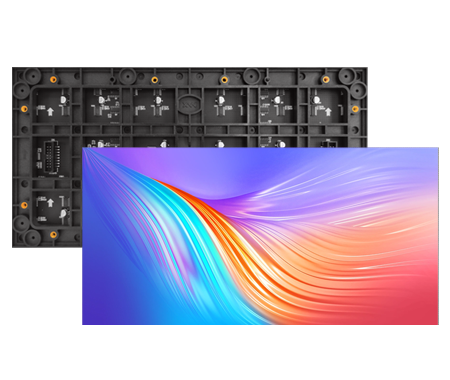
Outdoor LED display in the process of use, it is inevitable that there will be bad lights, local black screen and other imagery, generally due to the LED display module above the problem, the following is LCF editorial staff for you to list the common 5 categories of outdoor LED display module failure and solutions:

1, LED display group continuous not bright or have abnormal:
This phenomenon usually leads to a large black screen LED display phenomenon
Solution: check the signal direction of the first abnormal module row line and power line is good contact, such as module without LED display bright, it shows that no power input, please check the power supply part (available multimeter check), such as the appearance of color (with color confusion of the bright spot) shows that the module has no signal input, please check the first abnormal module row line of the input end is in close contact with the test can be repeatedly unplugged, the problem remains can be replaced with a new one. If the problem remains can be replaced with a new line.
2, LED display bad point maintenance (runaway point):
After a single light test to confirm that the LED damage, according to the actual demand, selective use of the following maintenance methods.
2-1 front maintenance: with the corresponding type of screwdriver from the front will be fixed mask screws to remove (note to stay good intention to keep the screws), remove the mask, change the lights (please change the lights in accordance with the following method to change the lights), change the lights and colloid sealing after the end of the original mask restoration, tighten the screws (screws on the screws, please pay attention to do not pressure on the lights), and finally, if there is a colloid residue on the surface of LED display, please be careful to remove the colloid.

2-2 back maintenance: with the corresponding type of screwdriver from the back to remove the screws (note that stay good intention to protect the screws), unplug the signal cable, for safety, please do not unplug the power supply cable to prevent accidents, carefully take out the module from the sheet metal holes, move to the back of the box, and then in accordance with the front maintenance method of maintenance on a single module for the lamp (please follow the following method of changing the lamp for the lamp) or overhaul the other.
3, single light does not light problem detection method:
Will lead to the phenomenon of dead lights, playback image is incomplete, not clear.
Use a multimeter to check whether the LED display is damaged, if the lights are bad, according to the following item 5 to change the lights. Specific test light method: the multimeter to resistor X1 gear, pointer multimeter black pen connected to the positive LED, red pen connected to the negative (digital table black pen connected to the negative, red pen connected to the positive), if the LED is bright, the measured light is good, if the light is not bright, the measured light is bad.
4, LED display single module is not bright:
Will lead to LED display module is not bright, module there appear black screen
Check whether the power supply of the module is good, mainly to check whether the power socket on the module is loose. If the whole module appears color confusion or color inconsistency (but there is a signal input, there is a correct picture) is the signal transmission row county poor contact, re-plug the row, or replace the tested row. If the replacement of good wires still have the same problem, please look at the PCB board interface problems.
5, change the light:
Damage to the LED display around the gel with sharp tools (such as tweezers) to remove, and make the LED pins clearly exposed in the line of sight, the right hand with tweezers to clamp the LED display, the left hand with a soldering iron (the temperature of about 40 degrees or so, too high a temperature will be caused by the damage to the LED display) to contact with the solder, and to do a little stay (no more than 3 seconds, such as more than the time but does not meet the requirements of the disassembly, please cool down! and try again) to melt the solder and remove the LED display with tweezers.
Will meet the requirements of the LED display lights correctly inserted into the PCB circuit board holes, (LED lights, the long foot for the positive, short foot for the negative, the PCB “square hole” for the LED positive pin jack, “round hole” for the LED negative pin jack). A little solder wire melted, glued to the soldering iron tip, with tweezers to adjust the direction of the LED display, so that it is smooth, will be soldered in the LED and PCB connected to the same type of gel (PH value = 7) seal the LED display.


Shenzhen LCF Technology Co., Ltd.
Support Hotline
400-618-8884 / 0755-66833488(+86)187-0755-0669
Email:
shuaishuai1@lcf.technology
Company Address
LCF Sound & Optoelectronics Industry Park, Gushu, Bao'an District, Shenzhen.
Copyright © 2004-2026 LCF LED Display Screen All rights reserved. Guangdong ICP 15089785-3 Subsidiaries: Dongguan Tongdachuang Industrial Co., Ltd., Anshun Lianshunda Technology Co., Ltd. (holdings)