Publisher: Supplier of LED Display Time: 2022-08-31 17:00 Views: 1755
1. Install the frame structure of the LED display screen
For example: if I need to install a large P2 full-color LED display with a length of 10 meters and a height of 3 meters, first calculate the number of modules required (how to calculate the number of modules for a full-color LED display) to obtain the number of modules How much, and then according to the size of the area to make a "day" shaped frame, the size of the large frame is exactly the size of the area, and the size of the "day" shaped small frame should be the same size. After that, two square steels need to be added behind the frame to keep a certain distance between the frame and the wall, so as to facilitate the installation of the module. After it is done, take it to the installation site and fix the frame structure first.
2. After installing the power supply, the control card and the module frame, leave a 1cm gap around it to keep the box ventilated. LED display installation
1. When installing the power supply, connect the power cord first. (Note: Be sure to look at the positive and negative poles of the power supply. Improper installation may cause burns.) Each power cord can carry 4 modules, 220V connection, and then use The soft copper wires can be connected in series. Finally, three sets of 220V power cables are output, and one air switch is inserted, and a pair of 6 square copper wires are inserted into the air switch. The power of this screen is about 9 kilowatts, so there is a surplus of 6 square lines.
2. Synchronous control cards are generally used for control cards. Each card has 3 columns of modules. On the right is the first card, which is also the head card. The input is connected to the gigabit network card of the computer, and then the output network port is connected to the input port of the second card, and the output port of the second card is connected to the third card. The input port, so until the last card, the last control card, the output port is empty.
3. Module installation The module should be installed from the beginning to the end, which is convenient for control. The length of the built-in cable is only suitable for the connection between the module and the module. The long cable from the control card to the template must be made by yourself (you can also ask for the module that sells the module) The upper and lower cables are used. The longest, about 1 and a half meters long.

3. Insert the LED display card corresponding to the standard
LED display installation This color screen shares 5 cards, 1 card drags three columns of modules, each card has 12 T75 interfaces, this screen is also 12 rows from top to bottom, when it is fully inserted, it is inserted correspondingly. That's it, the bottom pin of the screen interface is marked with OE, but it is not the red edge of the plug-in cable (this is just the opposite of the single-color screen). A bright line is displayed above.
4. After the installation is completed, conduct the full color test of the LED display
After installing one card of the three-row module, power on and test it. If there is any problem, solve it in time, because if you install the next group, it will cover the card and cannot be tested. There is a test button on the control card. If the installation is normal, the screen will Display red, green, blue, line, field, point information in turn. If it is normal, install the next group until the installation is completed.


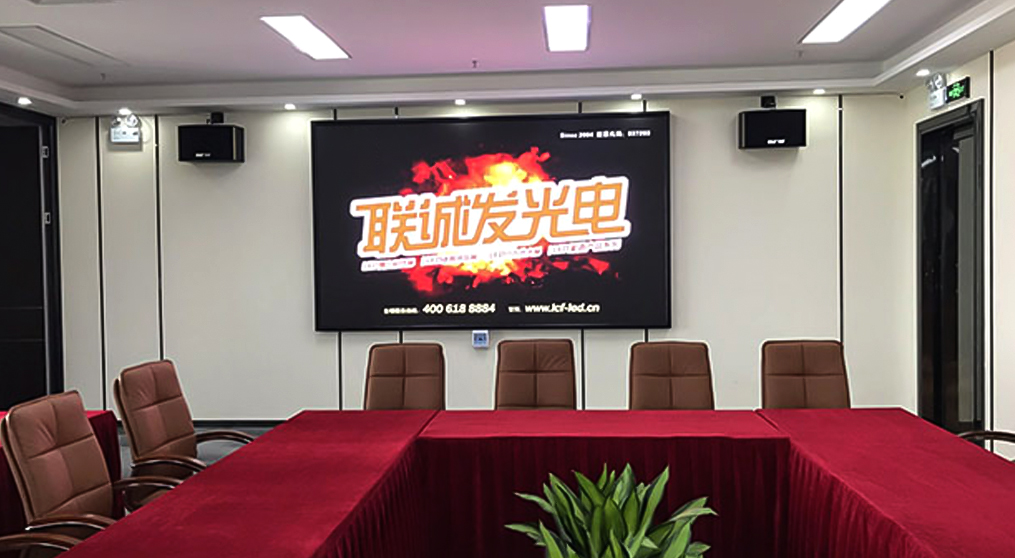
LCF LED Display Manufacturer
Support Hotline
400-618-8884 / (+86)187-0755-0636(+86)187-0755-0669
Company Address
LCF Sound & Optoelectronics Industry Park, Gushu, Bao'an District, Shenzhen.
Copyright © 2004-2026 LCF LED Display Screen All rights reserved. Guangdong ICP 15089785-3 Subsidiaries: Dongguan Tongdachuang Industrial Co., Ltd., Anshun Lianshunda Technology Co., Ltd. (holdings)